
The Art of Cookie Gifting Part 3
So now that you’ve made your lists and picked your recipes, what’s left? Making the cookies of course. But that’s not really the last step. You have to make sure your cookies make it to your recipients, and that’s a whole other conversation. In our house, November 1 started a season we called Cookie Season. It was when I began baking cookies to give away for the holidays. I would make a few batches every couple of days until both our freezers were stuffed with cookies. There were inventory lists. There were gift bag lists. There were lists I kept so I could tell if my husband or kids were snitching the cookies when I wasn’t looking. In the 2 months that made up Cookie Season, over a thousand cookies made it through our house. Crazy, right?
It was crazy, but Cookie Season taught me a lot. Here are some tips I picked up during it:
Moisture is the enemy. Don’t wrap up your cookies when they’re warm. The condensation will make moisture, which will make stale cookies and, if you’re freezing them, freezer burn.
Air is the enemy. Cookies left exposed to the air get stale. You want to store them in single layer in air tight containers. I like resealable zipper bags. Get as much air out of them before sealing as possible and then close them up tight. If you have a vacuum sealer those are great but you have to be careful - if you go for a full vacuum seal, your cookies will break and crumble. I sometime use the vacuum sealer but seal the bags just as they begin to deflate a bit. Once you’ve protected your cookies from the air, they’re ready to freeze.
Flash freeze those cookies! Flash freezing doesn’t involve any special techie gadgets. It just means that you’re freezing them in a single layer. Keep them frozen until you pack them up.
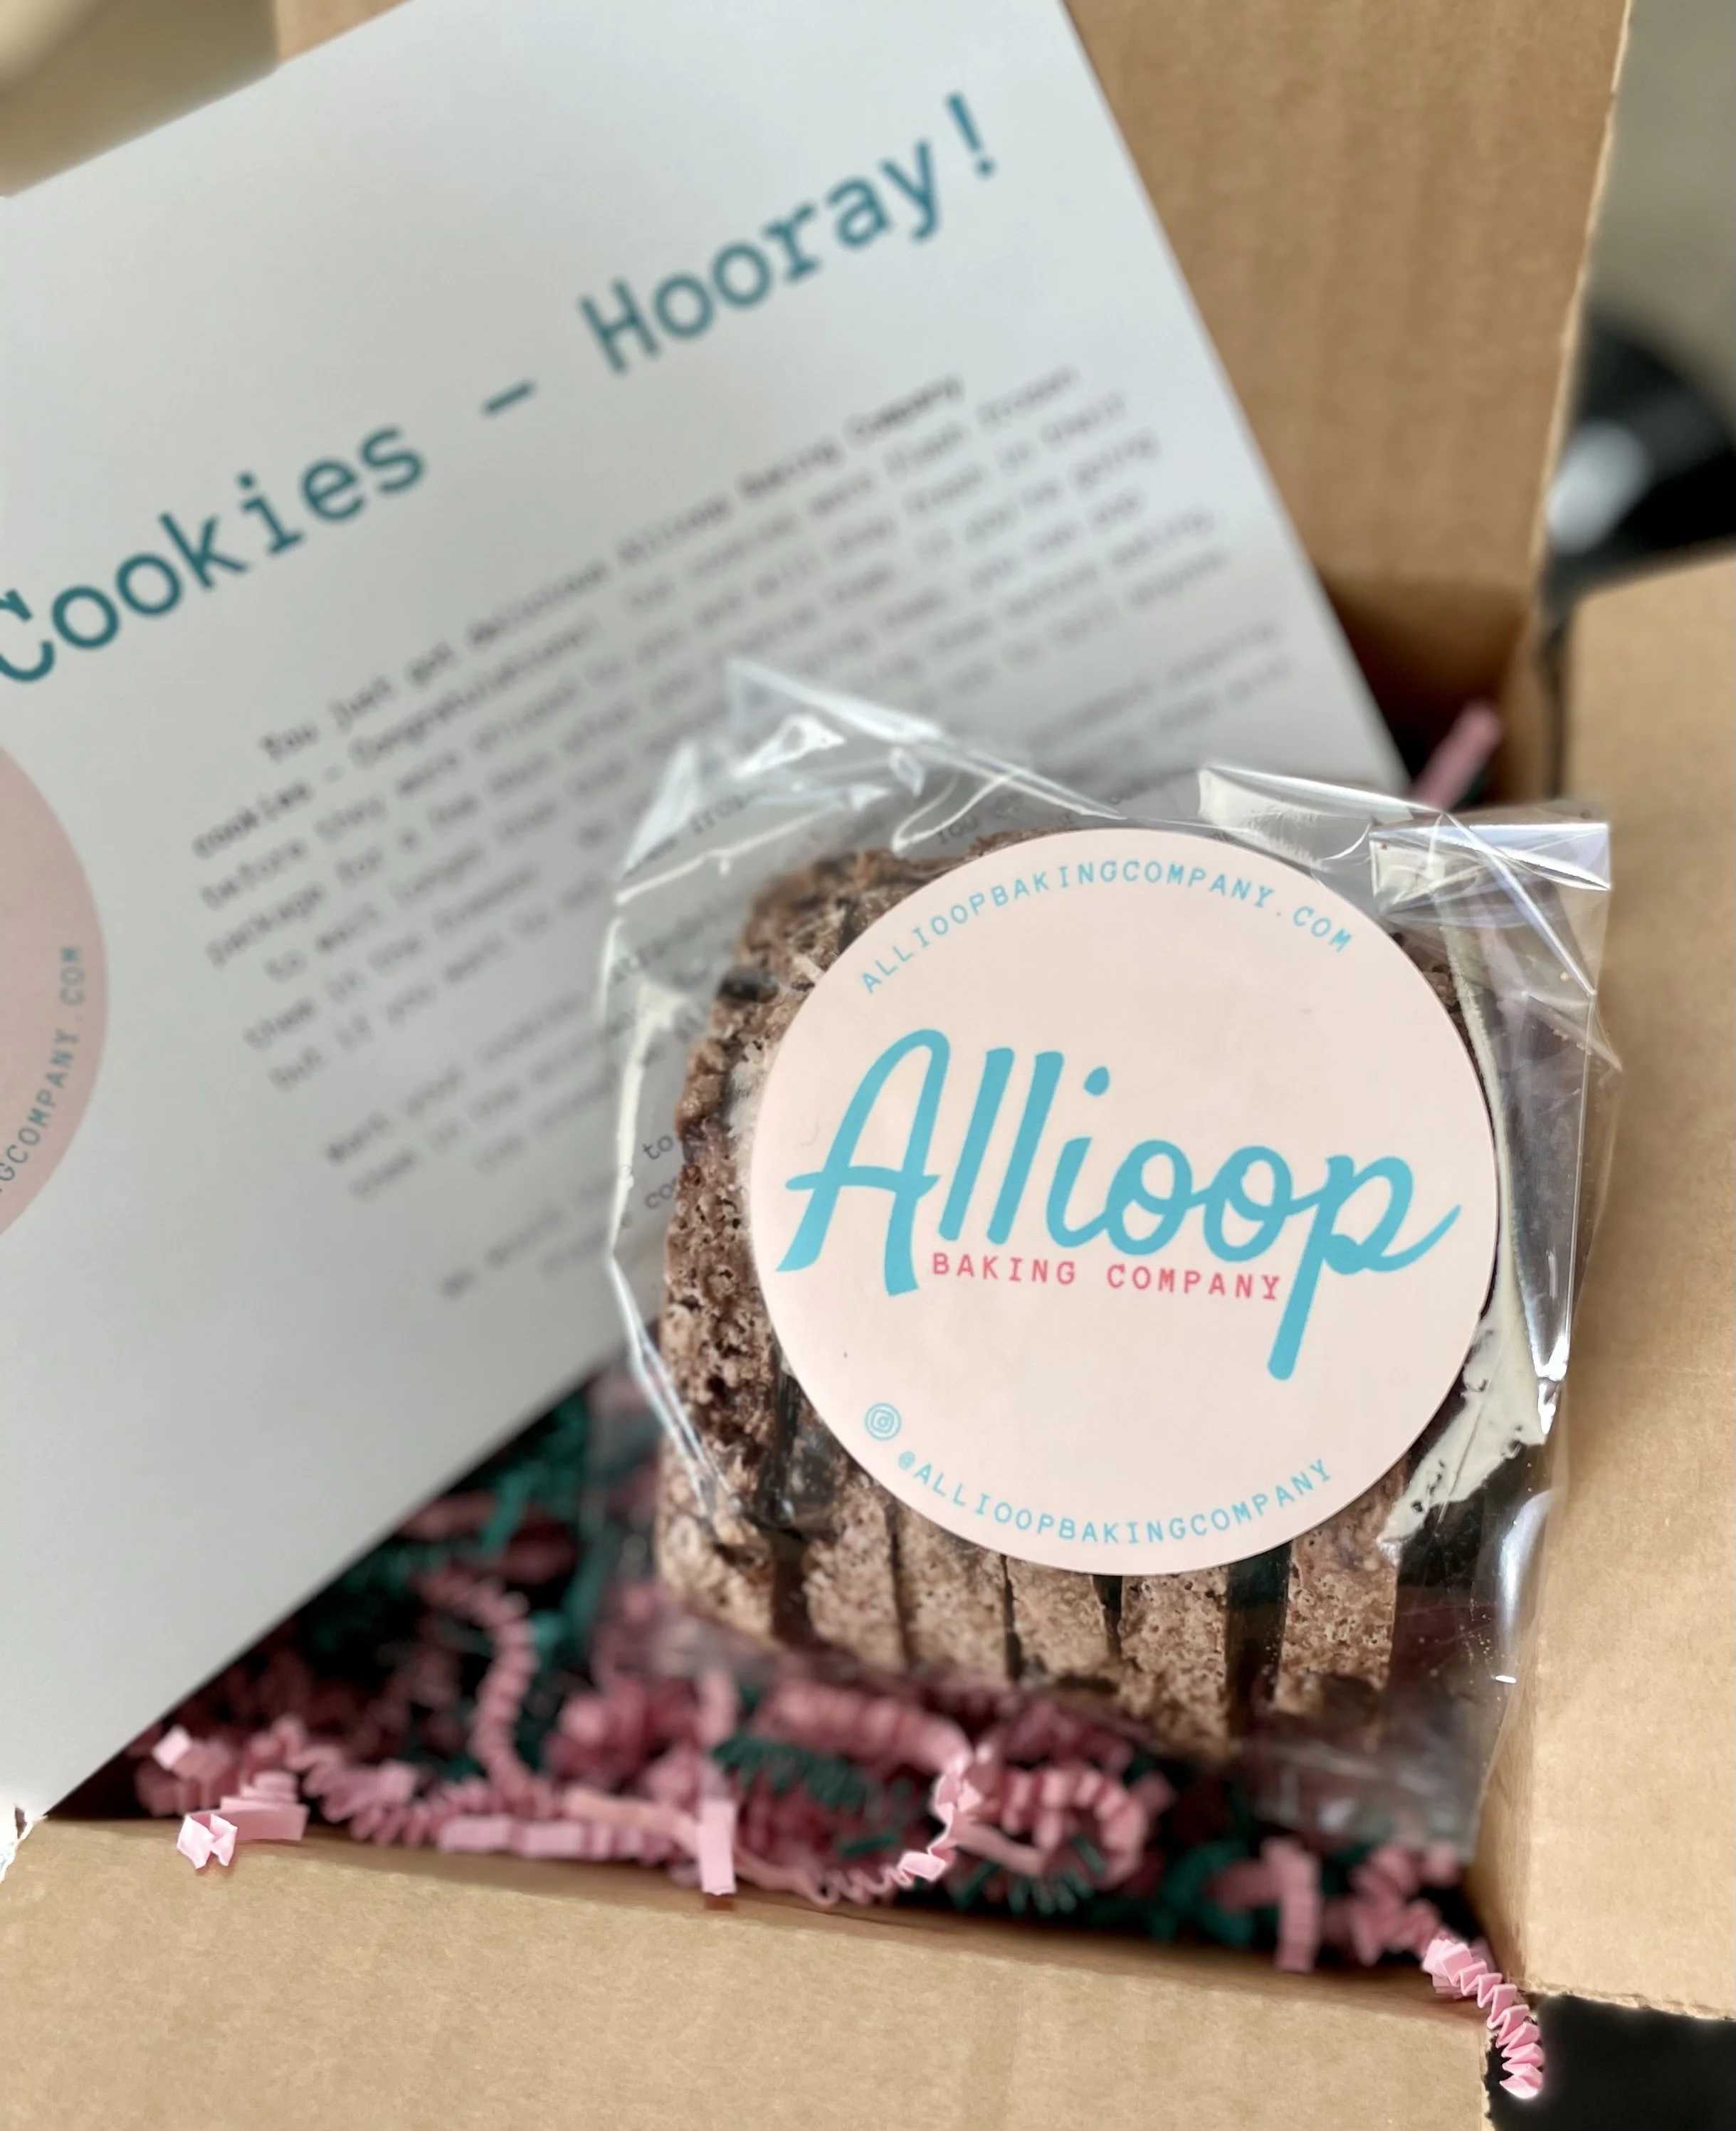
Think outside the plate. Presentation counts. Cookie plates are fine, but I think you can do better. For small gifts (a dozen or so), I like the kind of clear plastic bags kids use for goodie bags at parties. They come in different sizes and different colors or patterns. Tie them up with a ribbon and you’re ready to go. You can even punch a hole in your card, thread the ribbon through that and tie it up. Lovely. Coated paper “take out” containers come in lots of different colors and sizes and are a great cookie gift container. Cookie tins are a well loved, and deservedly so, classic - they protect the cookies and look great.
Last but not least, delivery. If you’re handing someone cookies, you don’t necessarily need anything else. If you’re delivering them you’ll probably need some sort of container. If I’m dropping off to a person or a group, I like gift bags filled with tissue paper and cellophane bags of cookies. I’ve also used cake boxes which give that “ahh” moment when people lift up the lid.
Mailing requires some prep. You need to make sure your cookies don’t crumble. Some people recommend popcorn or foam peanuts but I’ve found they shift around too much to protect cookies. One online writer suggested making rice crispy treats and putting them around the cookies as insulation. That’s a lovely thought, but won’t work for me because I’m lazy and (a) don’t want to make and cut up a ton of rice crispy treats, (b) don’t want to wrap up a ton of cut up rice crispy treats so they’re edible after the mailing (c) don’t want to worry about bugs getting into the rice crispy treats during mailing if I don’t wrap them up. I’ve had good luck wrapping my cookie bags in craft paper or bubble paper. I love some colored crinkle paper added in to insulate the cookies further and make it look happy.
Have any questions about giving cookie gifts? I would love to hear them! Send them to us at allioopbakingcompany@gmail.com and we’ll get back to you.